Manually cropping images in WordPress offers precise customization, allowing you to highlight focal points and ensure a perfect fit for your design or content.
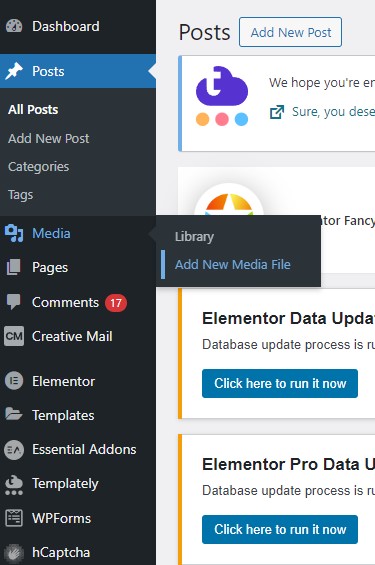
1. Upload Image: Log into your WordPress dashboard, go to Media > Add New, and upload your image.
2. Find Image: Locate your uploaded image in the Media Library and click on it to open the image editor.
3. Edit Image: Below the image, click on “Edit Image” to access the cropping tool.
4. Activate Crop Tool: Click on the crop icon (looks like a pair of scissors) to activate cropping mode.
5. Adjust Crop: Drag the crop frame to select the portion of the image you want to keep. Optionally, enter specific dimensions in the “Image Crop” tab on the right.
6. Crop Image: Click the “Crop” button in the upper right corner to apply your crop.
7. Save Changes: Click “Save” to store your cropped image. Now you can use it in your posts or pages.


