In this tutorial, we will guide you through adding the Yoast SEO plugin to your WordPress website. This plugin helps you understand and implement essential SEO rules, improving your overall search engine ranking.
Developed by Joost de Valk and his team at Yoast, the plugin enhances your site’s SEO across all areas. It even goes the extra mile by handling the technical optimisations required for your website to rank higher.
1. Install the Plugin
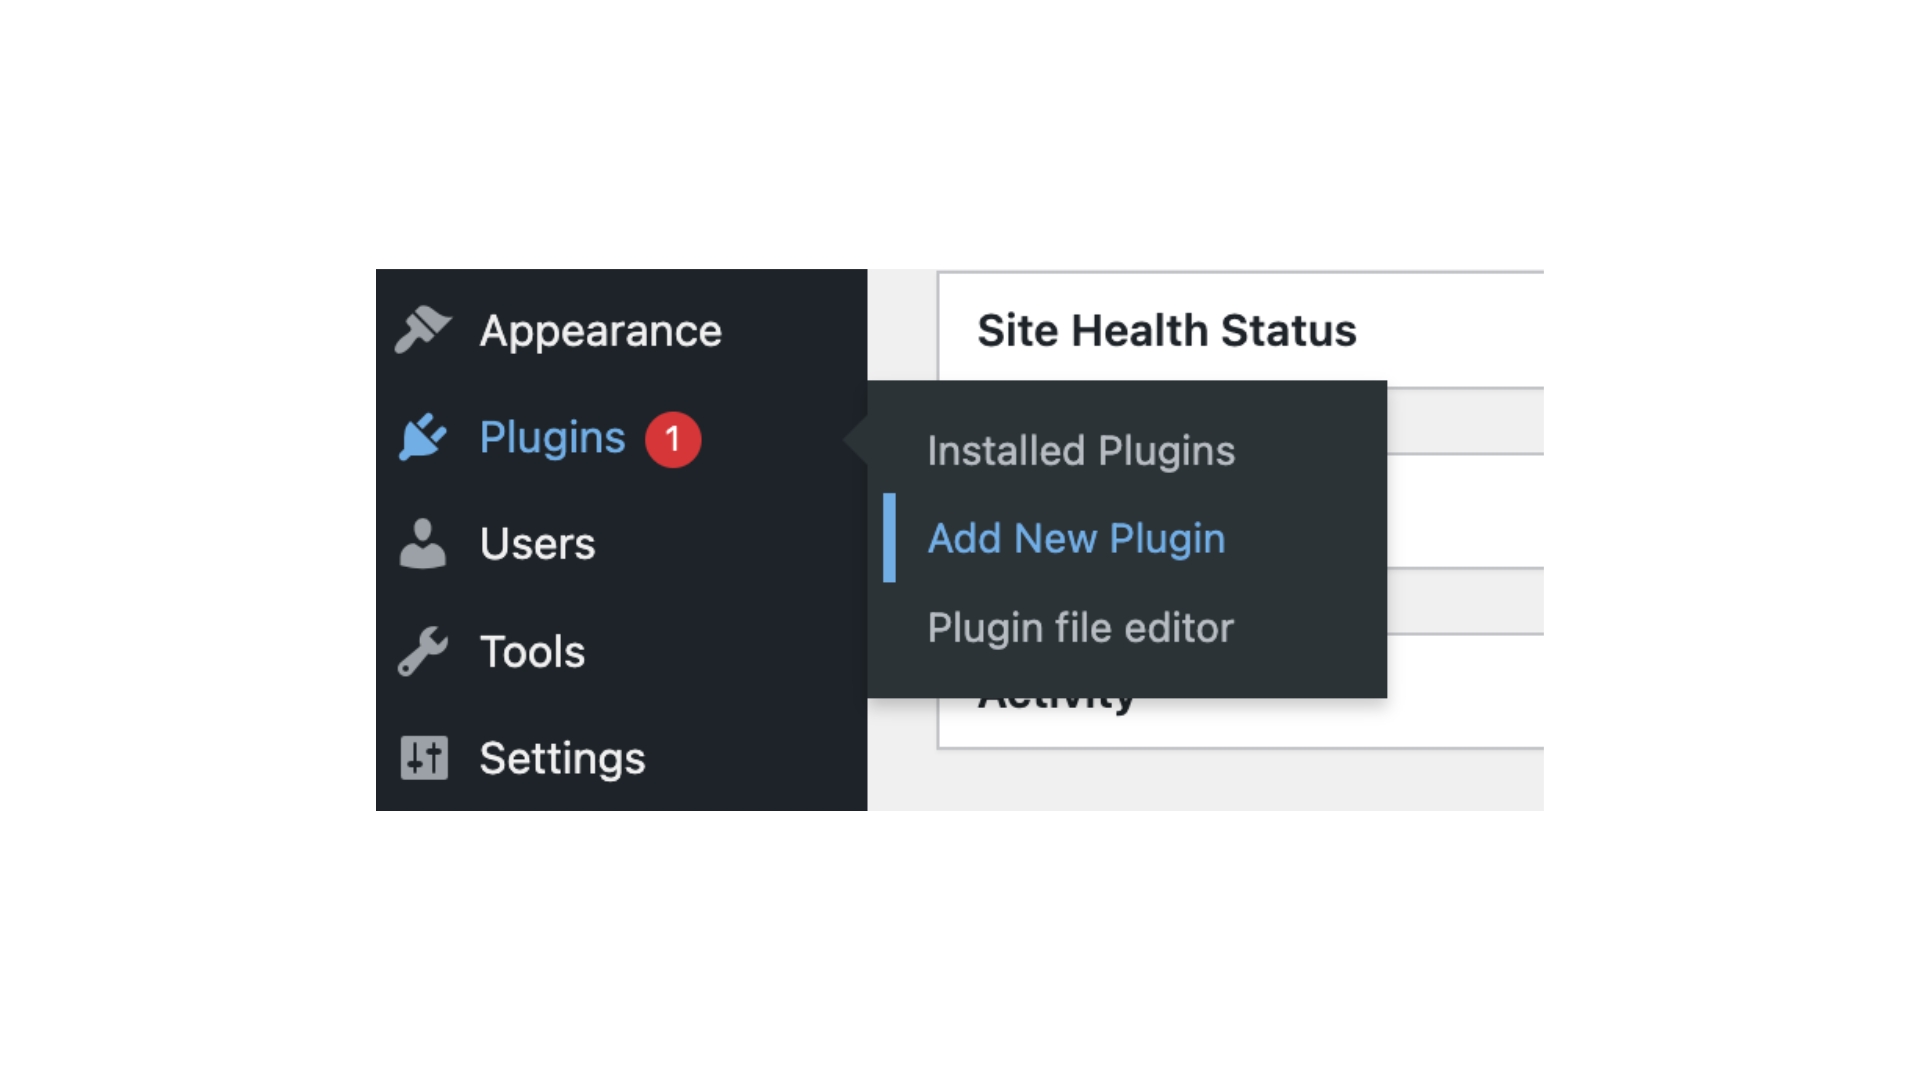
- Begin by navigating to your WordPress admin area and selecting Plugins → Add New.
- Type Yoast SEO into the plugin search bar and click the Install Now button.
- Once installed, click the Activate Plugin button located below the installation log.
- A Congratulations! message will appear. To explore the plugin’s features, click the Start Tour button.
- If you miss the message, you can start the tour at any time by navigating to SEO → General.
2. Configure Titles and Metas Settings
After installation, navigate to Titles & Metas in Yoast SEO. The plugin will have some pre-defined settings, but you can tweak them based on your website’s needs.
In the General tab, pay attention to the Force Rewrite option. It’s usually unnecessary to enable this, as the plugin uses the wp_title tag for SEO titles on posts and pages. However, if your theme uses a different code, enable the Force Rewrite option.
The Title Separator setting is a personal choice. While it doesn’t affect search results, dashes are generally a clean option.
For the Homepage tab, the recommended Title Template is:
%%sitename%% %%page%% %%sep%% %%sitedesc%%
This will automatically replace variables with specific values from the page.
The Meta Description Template defines the text shown beneath your site link in search results. If your posts follow a consistent structure, use this template. Otherwise, configure each post’s Meta Description individually.
Post Types
Select noindex, follow to notify search engines to follow the links but exclude them from search results. This helps prevent duplicate content from appearing in search results.
Archives
Author Archive: Set this to noindex if you are the only content publisher to avoid duplicate content.
Date Archive: Set this to noindex, as it typically doesn’t contribute valuable information to search engines.
3. Configure Social Settings
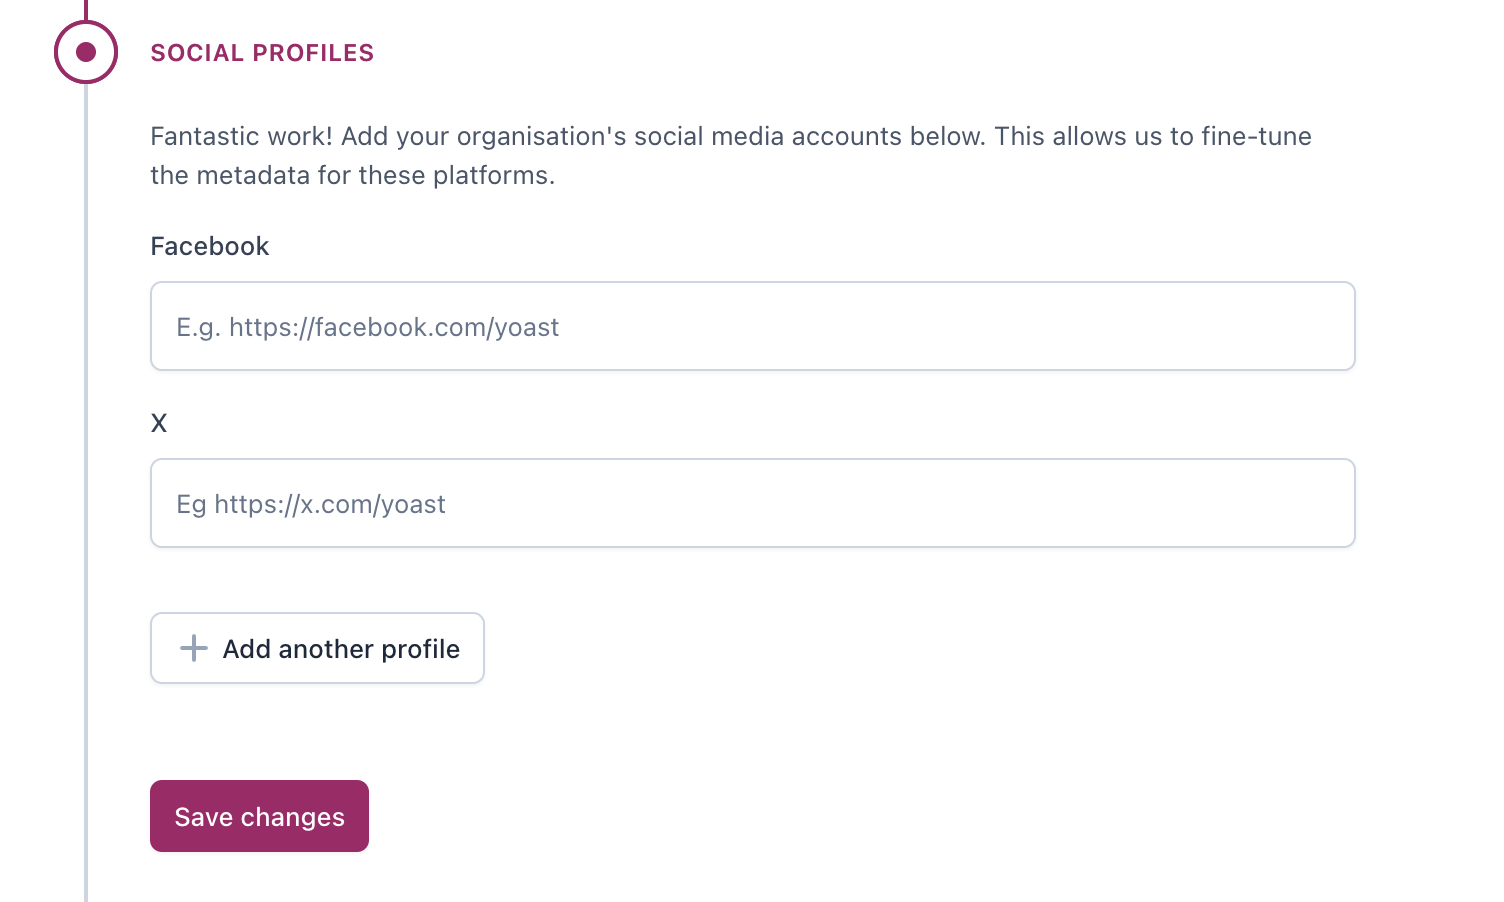
Integrating your social media accounts with Yoast SEO is beneficial, as it can improve your site’s visibility in search results.
Facebook: Enable Add Open Graph meta data to define custom titles, meta descriptions, and images for Facebook. You can also upload a default image for posts without one. If you have a Facebook page, add the admin details here for traffic insights.
Twitter: Enable a Twitter card and select either Summary or Summary with large image. The latter generally works better as it is more visually engaging.
4. Configure XML Sitemap and Advanced Settings
XML sitemaps are crucial for SEO as they inform search engines about your site’s structure. However, multiple plugins generating sitemaps can harm SEO. Ensure only Yoast SEO is responsible for this task.
Post Types
You can exclude certain post types, such as media pages, that don’t contribute to SEO. Custom exclusions can be made for posts set to noindex.
Permalinks
Redirect Attachments: This is useful for sites with numerous images. Enabling it will redirect users searching for an image on Google to the corresponding post instead of the image’s attachment page.
Remove Stop Words from Slugs: This is important for SEO, as it removes common stop words from URLs (e.g., “and”, “to”, “the”), improving search rankings.
Replytocom Variable: Enable this for better crawl efficiency if your site has many comments, as it removes the ?replytocom variable from comment reply links.
Clean up
<head>: It’s safe to check all boxes here, except for RSS links if your site uses RSS.
RSS
- The pre-configured RSS settings are generally well-optimised for SEO. You may not need to make any adjustments here.
5. Page Analysis
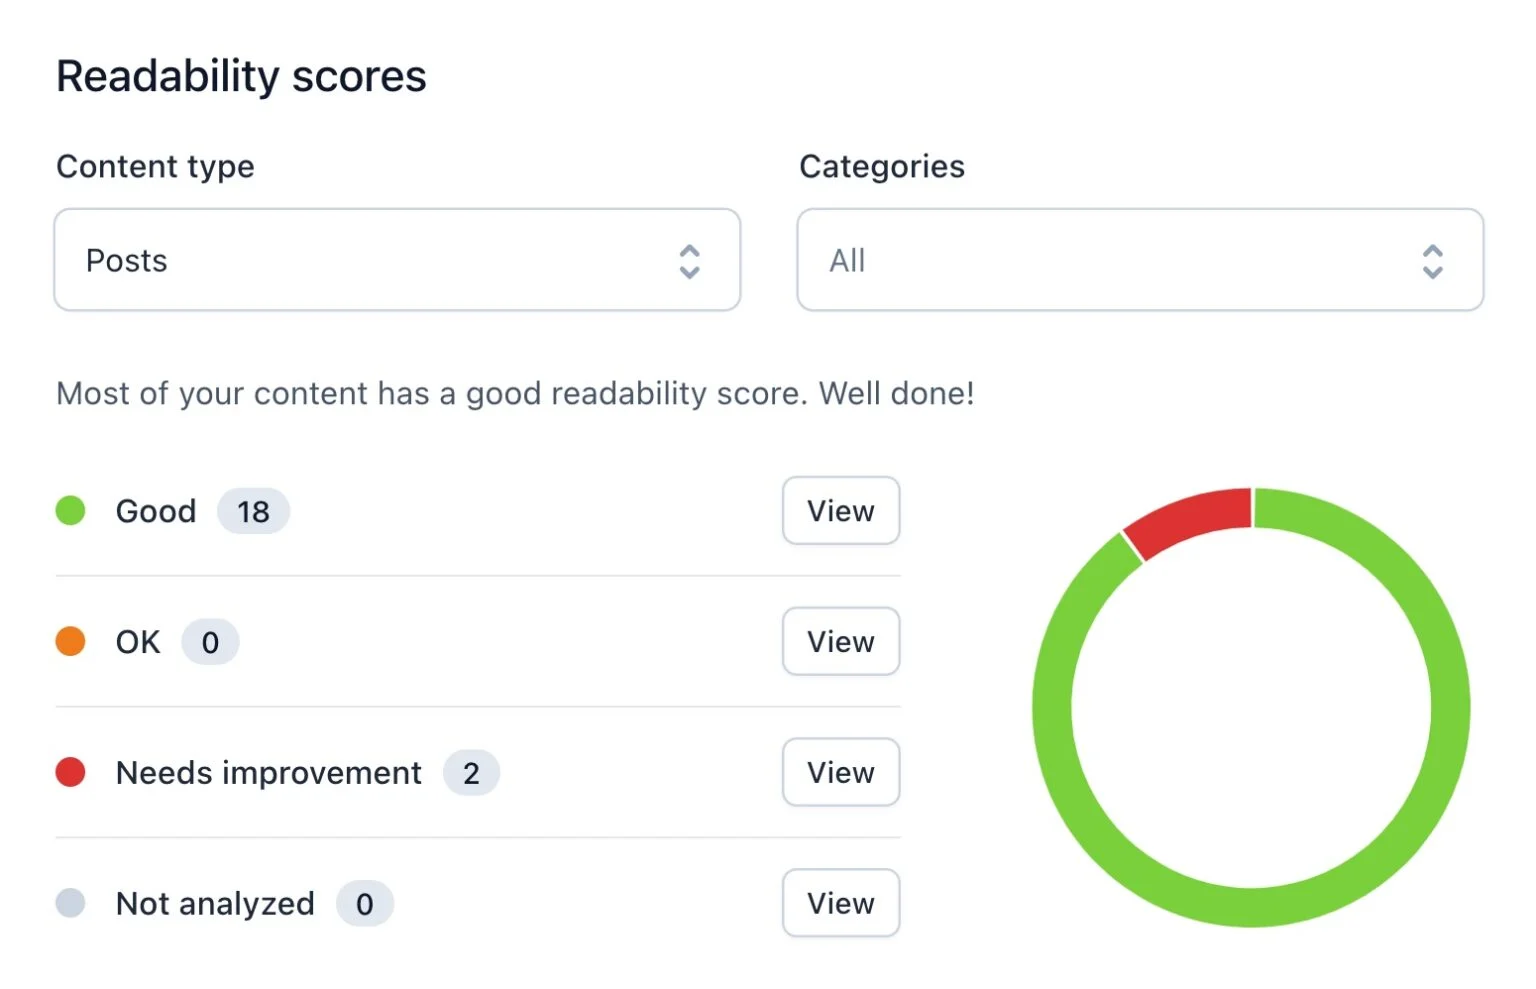
Yoast SEO provides valuable tools for analysing your page’s SEO performance. To access this, hover over SEO in the admin bar and click Analyze this page.
You’ll be directed to various tools that allow you to check:
Keyword density
Google Cache
Headers
Rich Snippets
Facebook Debugger
Pinterest Validator
HTML and CSS Validators
Google Page Speed
Modern IE Site Scan (for Internet Explorer)
These tools will redirect you to external resources for detailed analysis, helping optimise your page.
With these steps, you can unlock the full potential of your website and improve its search engine visibility.
Conclusion
In conclusion, installing and configuring the Yoast SEO plugin on your WordPress website is a crucial step towards improving your site’s search engine performance. By following the setup and using the plugin’s features, you will ensure your website is optimised for both search engines and users.
With Yoast SEO’s easy-to-understand interface and powerful technical tools, you can boost your site’s visibility, drive more traffic, and ultimately achieve better rankings in search results.